Jump to section:
Key Concepts
Sodium dodecylsulfate polyacrylamide gel electrophoresis (SDS-PAGE) is used to separate and visualize individual proteins from a complex mixture. Dodecylsulfate (SDS) is a detergent that binds to and denatures (unfolds) proteins. Because SDS is negatively charged, each protein will be separated by size, similar to the separation of different DNA fragments in an agarose gel. We will run a gel of our fractions from the nickel column purification to identify the GFP-containing fraction and assess its purity.
Four groups will run their samples from the His6-GFP purification on the same gel. All the samples will also be run in duplicate on another gel – one gel will be stained for TOTAL protein with Coomassie and the other gel will be used for a Western blot to identify a SPECIFIC protein with an antibody.
Materials
- Fractions from purification (lysate, protein elution)
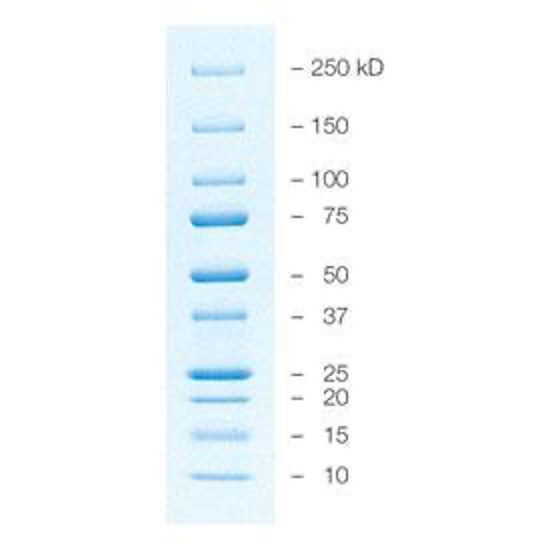
- Prestained protein ladder
- 5x SDS loading buffer
- 1x Running buffer
- Bio-Safe Coomassie Stain
- 1 gradient gel
- 1 Mini-PROTEAN 1D gel electrophoresis system/power source
Procedure
Loading the gel:
- Prepare samples for the gel by mixing 10μL of the CL, FT, W, and E fractions with 30 μL of Wash buffer and 10μL of 5x SDS loading buffer.
- Assemble the gel apparatus. Two gels can be run simultaneously in each apparatus. Remove the sealing tape from the bottom of the gel before loading.
- Make 500mL of 1x Running buffer. Pour buffer into the inner chamber of the gel box between the gels so that the wells are completely submerged. Pour the Running buffer into the outer chamber until it is half-full.
- Carefully load 10µL of ladder and 20µL of each prepared sample into the wells of the gel using gel-loading tips. Add the volume slowly and watch to ensure that it sinks to the bottom of the well. Below is a sample of how you and your neighboring group might load your gel. Be sure to record how your gel was loaded.
|
Lane 1 |
2 | 3 | 4 | 5 | 6 | 7 | 8 | 9 |
10 |
|
Protein ladder |
GFP
CL Gr1 |
GFP
FT Gr1 |
GFP
W Gr1 |
GFP
E Gr1 |
Protein ladder | GFP
CL Gr2 |
GFP
FT Gr2 |
GFP
W Gr2 |
GFP
E Gr2 |
Running the gel:
- Attach the lid and plug the leads into the power source. Turn on the power to 120V. Check that bubbles are emerging from the electrode at the bottom of the apparatus.
- Check the buffer levels in approximately 10 minutes to ensure that the chamber has not leaked. If it has leaked, add more Running buffer.
- When the dye front has nearly run off the bottom of the gel (this should take at least an hour), turn off the power source and unplug the apparatus.
- Grab an empty pipette tip box for Coomassie staining.
- Remove the gel and rinse the entire set-up thoroughly with distilled water.
- Pry apart the gel casing using the green lever tool. The casing should break into two parts with the gel in the middle. Be careful not to tear the gel, which is very fragile.
- With the gel sitting on one side of the casing, transfer the gel to the plastic tip box for staining with distilled water.
Coomassie staining:
- Wash the gel in distilled water on a shaker for 5 minutes.
- Remove all water from the gel container and add enough Bio-Safe Coomassie Stain to completely cover the gel. Let stain for 1 hour on a shaker. If the protein signal is low, stain overnight.
- Rinse gels with water. For a more complete destain, add a kimwipe to a corner of the box and leave on a shaker.
- Analyze gel and record in your notebook:
- Does your protein run according to its expected molecular weight?
- Which sample contains your protein? How clean is your sample?